Okay, here it goes.
I made the cradle myself because it's my line of work but by preference I would have used the one that IpadOne has just shown us and put that on the mic boom.
The mic boom is a generic mass produced in China but I don't like that the joints and fittings are made of plastic. I got it
here. But I'm in Canada. Find yourself a store, there's bound to be one in your region.
To give mobility in two more axis', I put a speaker wall mount bracket between the cradle and the mic boom. Got a pair at Walmart.
The flat part is the one that goes to the wall when you install a speaker. You can see it in this next picture. There was a hole in the fixture that I enlarged with a Dremel grinder to insert the tip of the mic boom and glue it in with epoxy.
Then I just screwed that spkr. Mount to the back of the cradle. It can also rotate on itself there giving the iPad it's freedom of orientation at will. The only thing that would prevent movement is having it plugged in.
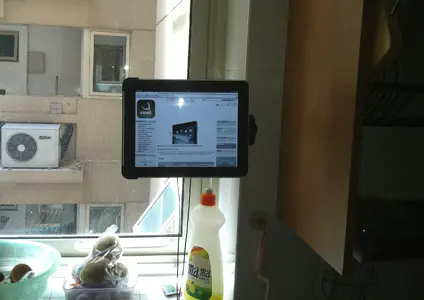
The cradle is a piece of scrap mdf that I lined with self adhesive felt. You'll notice door bumpers on the surface to accommodate the rounded iPad back.
The most complicated part is the rails that accommodate the iPad. They're made of simple pine that I cut in an 'L' shape, cut to length and lined with felt. Make sure that there is felt everywhere the iPad touches. I installed rails on the two length of the cradle and a little piece at the bottom. Make sure to avoid all buttons and controls for smooth operation. Sliding the iPad in with bottom first is what I wanted. It goes in nicely and snugly.
Again, if you can find a clip-in cradle, half the work is done. You could affix it to the speaker wall mounts with rivets instead of screws.
Total time for this one, two hours... When you know where you're going.